The Magical World of Snowshoeing: A How-To Guide for Trails
Snowshoeing might seem a little intimidating at first, but once you give it a try, you might just find a new-found freedom to hit the trails. I was a kid when I first learned to snowshoe. It was at my friend’s parents’ cabin “Up North” in Conover, Wisconsin. My buddy and I strapped on our oak-framed snowshoes with rawhide webbing and leather bindings and took off. Neither of us had ever snowshoed before, and being young and adventurous, we dove right in. Though my current pair of snowshoes is much different, the lessons I learned that day are with me still.
1. Type of Boot Depends on Trek Length
If the snow is minimal, 2–4 inches, and the weather is warm (around freezing), it’s perfectly fine to use your hiking boots. You will find with hiking boots that you have more control, but you will sacrifice warmth and increase the potential for wet feet if you’re out for a long walk on the trail. In those instances, I prefer snow boots that are insulated well and 100% waterproof.
2. The Right Fit Is a Tight Fit

When you strap on snowshoes for the first time, it might be hard to know how tight to get them so they don’t fall off while you’re out walking in the snow. The best way to make sure you have the fit right is to strap them on inside your house (and with lots of time to spare).
Why inside? This way, you can adjust your snowshoes to fit perfectly to the boots you will be wearing and experiment with the strap system. I like my snowshoes to be as tight as possible to avoid the possibility of them falling off at the worst moment. Many a time I have been going downhill in deep snow and have lifted my leg to take another step when my snowshoe falls off—left in the hole behind. Now I have to retrieve it, position my body to get my boot back into the snowshoe and cinch it tight so it doesn’t fall off again on my next step. Snowshoes have a tendency to fall off when they are under the most stress in the most precarious of positions. A tight snowshoe will serve you well.
3. Gaiters Are Good
Once you have your snowshoes on, a piece of gear I always use is the gaiter, which clips directly onto the front of your laces and the strap underneath your boots. They help eliminate the chance of snow getting inside your boots by providing a seamless transition between your boots and your snow pants layer. They are particularly useful for when you want to form a protective barrier from deep snow.
4. Poles for Balance and Cardio
Walking poles can be extremely helpful for keeping balance, especially when you are first learning to snowshoe. They can also help with your cardio, particularly if you are looking for a full-body workout, as you will need to actively engage your arms to walk with a fluid motion on the snow.
5. Tips Up
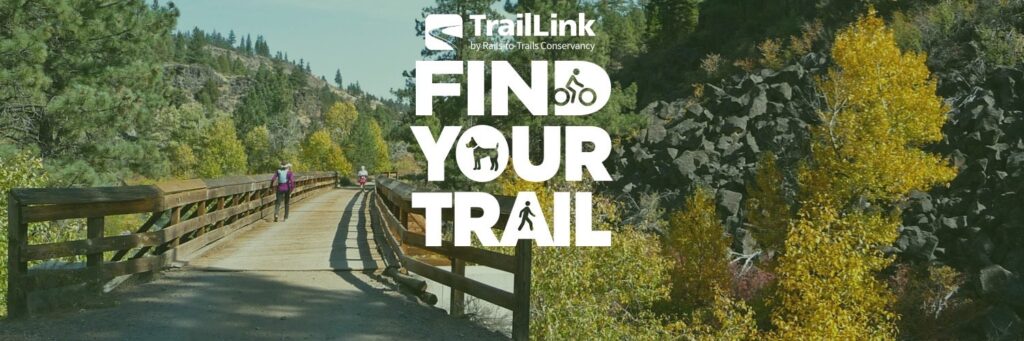
You now have your boots, gaiters, the perfect fit—and your poles. It’s time to get out on the trail! Looking for recommendations? Check out TrailLink.com, RTC’s free trail-finder website, which catalogues nearly 40,000 miles of multiuse trails, including maps, photos and contact information for the local trail manager.
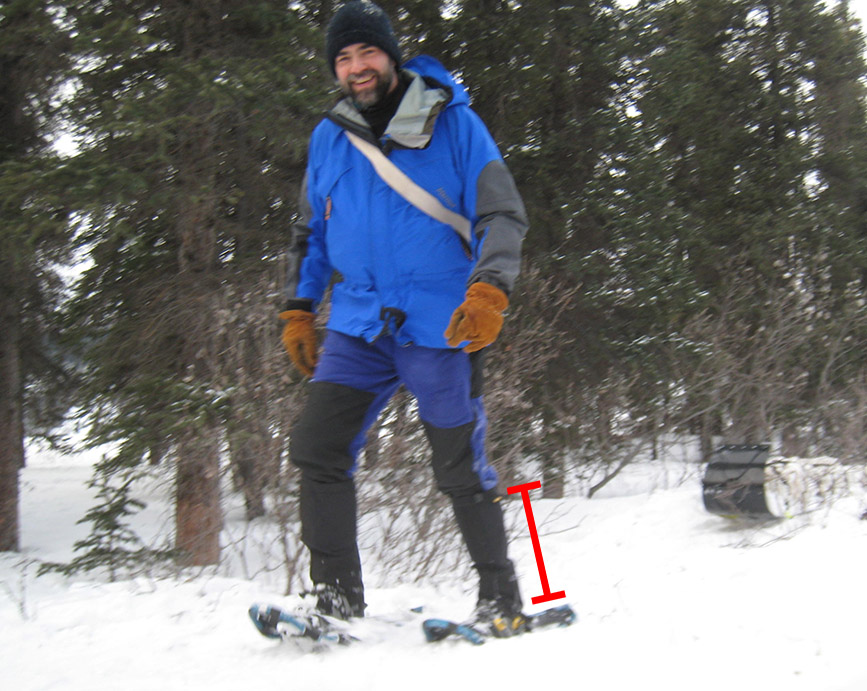
The most important rule of thumb when snowshoeing is to keep the tips of your snowshoes up. On a flat section of trail, practice to consciously walk with the toes of your snowshoes higher than the backs of the snowshoes. With each step, keep the toes of your snowshoes above the snow line. This will keep you afloat and decrease tremendously the tendency to trip.
If you take a step, and your snowshoes are not above the snow line, they can get caught in the snow and you can end up tumbling to the side or, even worse, face forward. Hopefully there is fluffy snow to fall into! (Here is where your poles can help you keep your balance.)
6. Lift Those Legs (Like a Moose)
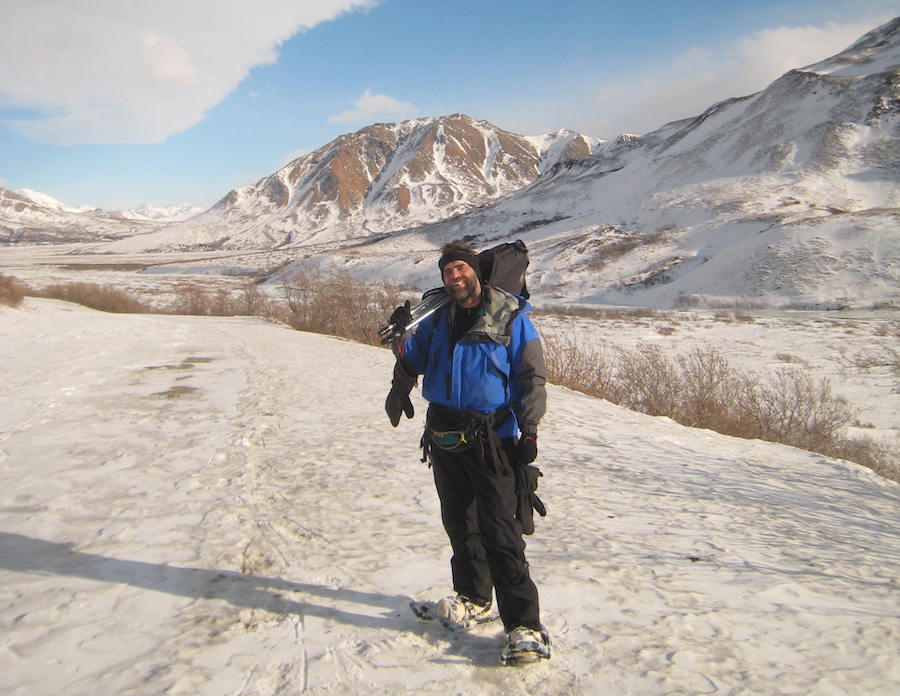
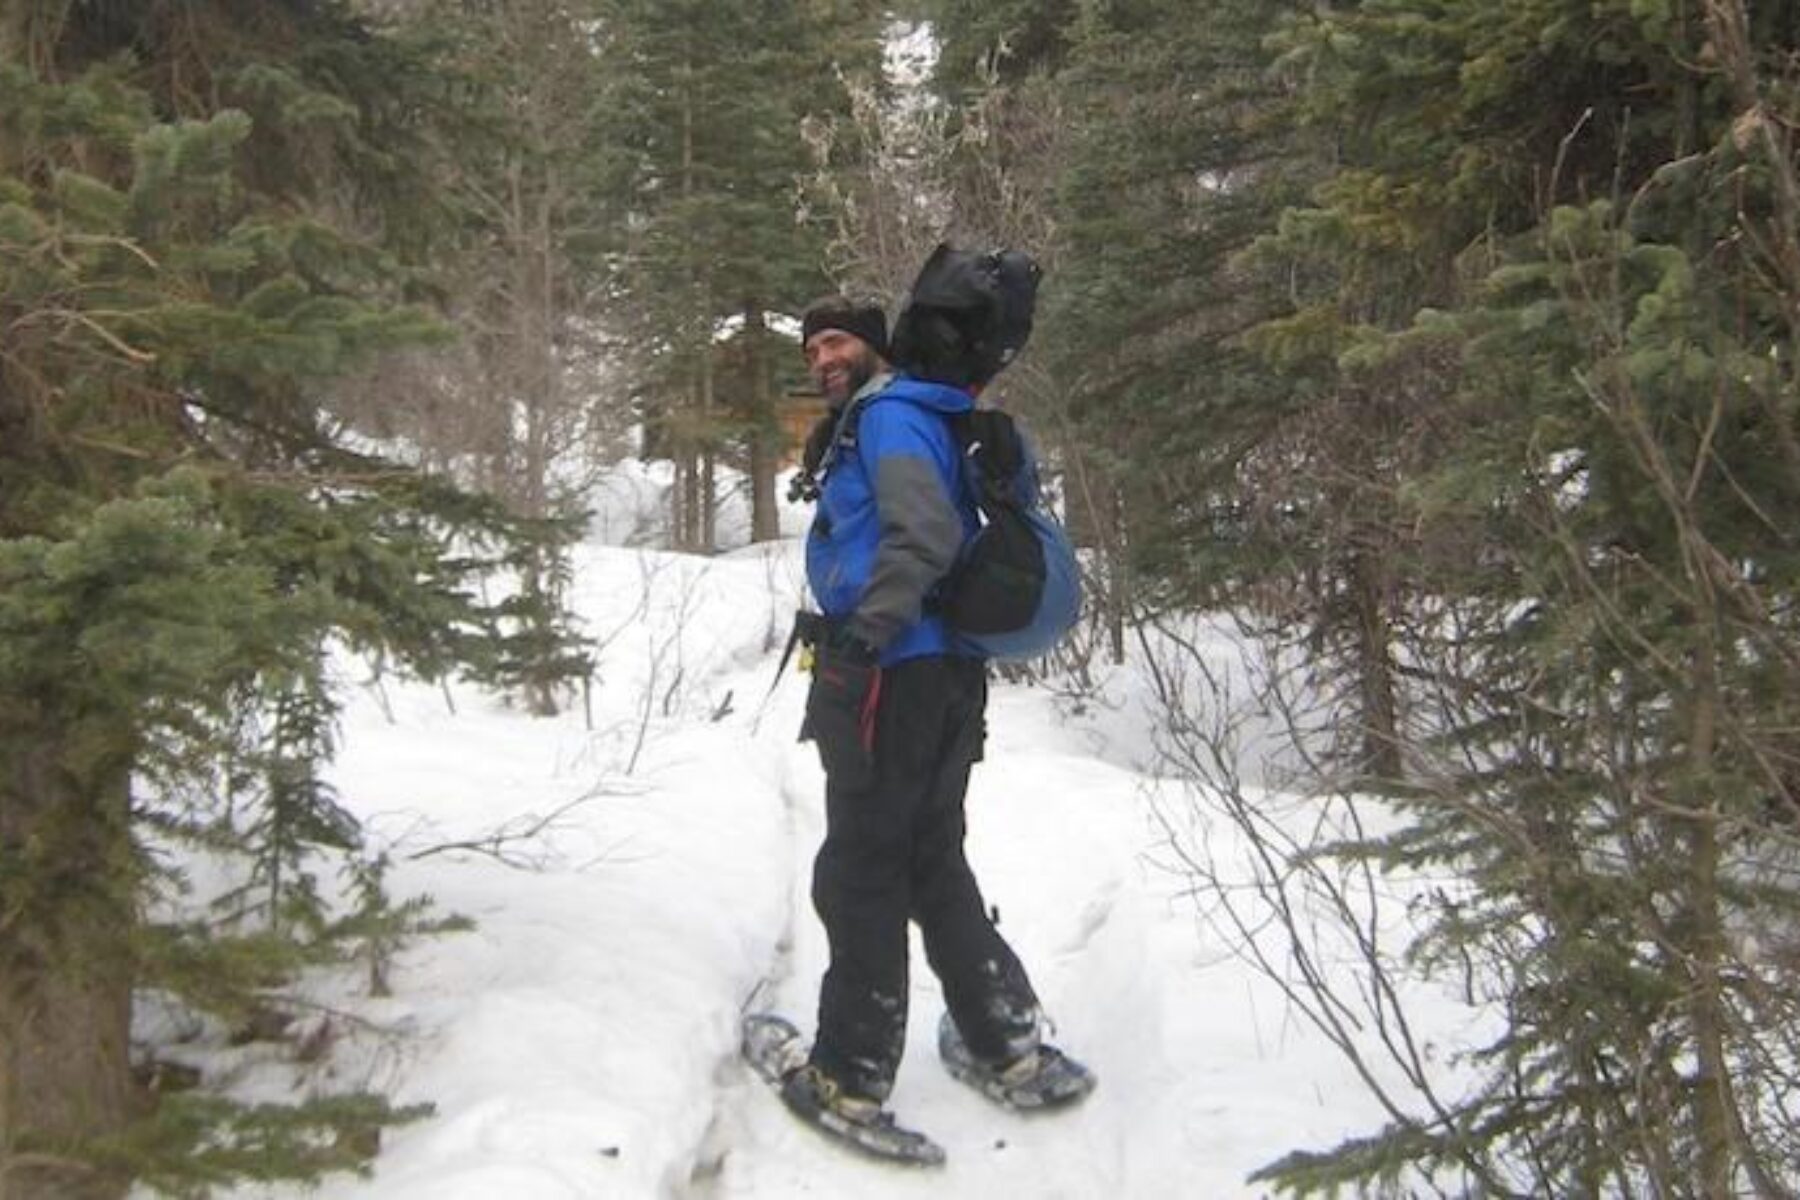
The deeper the snow, the more important it is to lift your legs high to keep the tips of your snowshoes above the snowline and avoid tripping. I lived in Denali National Park, Alaska, for many years, and snowshoes were part of my regular winter gear. As the snow got deeper, I imagined myself as a moose, lifting my legs higher than the snow depth to better navigate my snowy wilderness backyard. Of course, I had snowshoes on; they kept me from sinking too deep, and I was able to go through terrain that is regularly traveled by very few people. And well, I kind of liked imagining being a moose, all told—what a life they have.
7. Downhill: Stand Parallel or Slightly Forward
Whenever you are going downhill, depending on the slope and depth of snow, you will want to continue to keep your tips up, and lift your legs high; however, you’ll also want to focus on placing the weight of your body parallel to the ground—or slightly leaning back if the terrain is really steep and the backs of your snowshoes are entering the snow first. Essentially what you’re doing is walking slightly on your heels while stepping into the snow, and not allowing your body weight to throw you off balance by shifting too far forward.
8. Uphill: Take Half Steps
This is the most difficult maneuver a snowshoer can make in deep, fresh snow. But as with most things, there is a trick. Same rules apply—tips up above the snow line, and legs lifted high—but make sure to plant your feet solid before taking the next step. If you’re on a trail and the snow is deep, take half steps and pack the snow down as you go. You are essentially carving stairs out of the snow, one half-step at a time.
9. Enjoy!
There’s one thing in particular that I’ve found to be helpful whenever I spend time outside in the winter—especially when I’m learning a new skill. It’s a mantra I’ve repeated thousands of times: Slow. Steady. Purposeful. When I slow myself down, I enjoy the journey more, and I literally celebrate each step.
What happens then is simply magic. You hear the call of a downy woodpecker high on a distant tree; you feel the slightest breeze on what had been a still, calm day and see a single leaf left over from the fall move in front of you. Before you know it, the winds are whipping and an epic snowfall consumes you, or—if you are so lucky—you can smell a new snowfall before the first flake hits.
OK, that’s it—time to hit the trail. Have fun, and enjoy each moment.
RELATED WINTER BLOGS:
- How to Adapt Trail Activities and Gear for Cold and Winter Conditions
- Winter “Share the Trail” Etiquette and Safety Tips
- Seven Hot Tips for Cold-Weather Biking
- Rail-Trail Tips for Cross-Country Skiing (A 101 Guide)

Donate
Everyone deserves access to safe ways to walk, bike, and be active outdoors.